Build & Release Tension
Reduce the most common un-diagnosed problem in shooters - excessive tension.

Members can run saved par times.
Get All Access TrainingPrimary Skills:
What is the Build & Release Tension Drill?
Try something for me. Flex every muscle in your body. Flex and activate absolutely every muscle that you can as hard as you can. Just grit down and hulk out. Now… Run as fast as you can to the other side of the building while maintaining that complete hulk out state. That won’t work very well won’t it?
In order to run as fast as we can to the other side of the building, we need to activate only the right muscles at just the right time to move our arms and legs to run as fast as we can.
While shooting, many people tense up and activate more muscles than is needed to shoot. This creates excessive tension, which negatively impacts shooting performance. We’re controlling an explosion about a foot and a half away from our face after all. It’s basic instinct to tense up when something like that is going on.
Handgun recoil, transitions, shooting on the move, and any other action while shooting requires activating muscles in order to complete those various actions. If every muscle was loose, the gun would recoil, we would flop about… It would be a mess. In order to control recoil, engage fast transitions, and smoothly shoot on the move, we must activate and tense up various muscles.
Another common problem with shooters just starting with dry fire is the exact opposite of excessive tension – going limp. They loosely grip the gun because there’s no explosion going off a foot and a half away from them. Then when they pick up a live gun they either maintain that loose grip which creates the “limp wrist” problem, or they over grip and get that excessive tension.
In dry fire it is very important to grip the gun firmly in the exact same way you would grip it if you were at the range with live ammo.
The goal of this drill is simple and important – activate only the muscles needed to control recoil and no other muscles.
Drill Setup
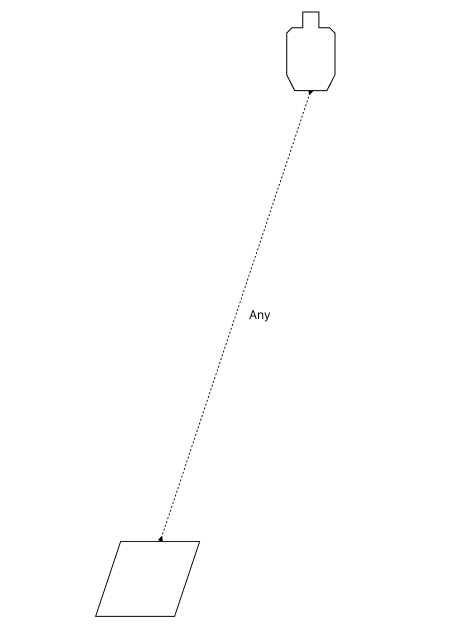
- 0 targets needed – just need a single point to look at and aim at. A small point of aim is really good with this drill, but a target works just fine
- Start position: compressed ready, feet in an athletic “ideal” shooting stance
Drill Steps
- Push the pistol out to full extension, building a firm grip while prepping the trigger and aligning the sights
- Pause with the sights lined up and hold the firm grip
- Lower the gun to compressed ready, release tension in the muscles, put the finger on the side of the frame
Drill Tips
The key to this drill is to only activate the muscles needed to control recoil. No more, no less. At the start of each repetition of the drill, feel the muscles in your body. Your entire body should be loose. Shake your legs, shake your arm, let your jaw go slack, let your shoulders relax. Get rid of all of that tension.
If you start tension in your body, you’ll carry that tension throughout that drill and build in a habit of tensing up.
New to competitive shooting?
This is an excellent gun handling drill for new shooters and new competitive shooters (USPSA/IDPA/IPSC/3 Gun/2 Gun). I recommend this handgun drill to anyone who’s new to practical pistol competitive shooting. It is important that the finger stay outside the trigger guard during non-shooting actions – otherwise you’ll get DQed. This is also following the rules of firearm safety and could save someone’s life.
Running this drill repeatedly will create the incredibly important subconscious skill of the finger getting on the trigger when the sights get up on target, and the finger gets off the trigger when the gun comes down.
Drill Diagnostics
Use a dry-erase marker to put a dot on a mirror. Square up on the mirror and run reps where that dot is your point of aim. Don’t let your eyes get distracted and look anywhere other than the dot and your sights. We don’t want to create bad habits while training. However, if you have excessive tension in the shoulders, you’ll see them moving around and tensing up.
Don't know what drills to run to meet your goals?
Try out a virtual training call to talk with Brian about shooting goals, training methods, and drills to best meet those goals.
Drill Environment
More Drill Modifications
Modifications to focus on: Conceal Carry
- Add walls to lean around - More info »
- Move through a door - More info »
- Start drills with something in your hand - More info »
- Start from a seated position - More info »
- Turn the lights out and use a flashlight - More info »
- Use a variety of your daily wear clothing - More info »